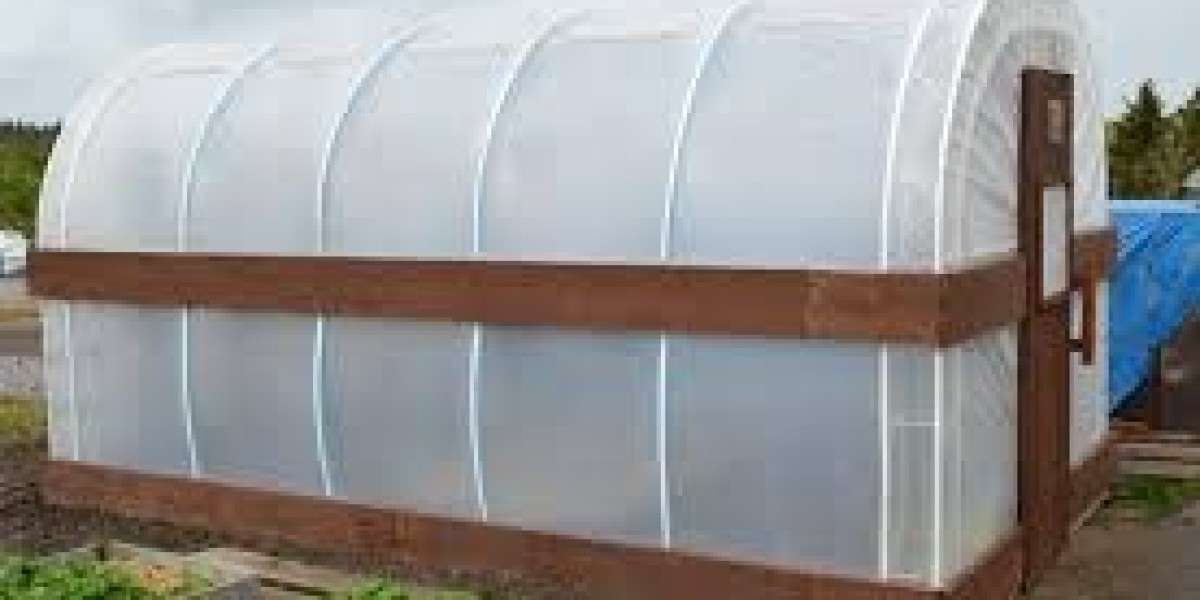
Are you passionate about gardening but struggle with unpredictable weather conditions? A DIY polytunnel might be the perfect solution for you. Polytunnels, also known as hoop houses or high tunnels, provide an ideal growing environment by protecting plants from harsh weather, extending the growing season, and enhancing crop yields. In this article, we will explore the benefits of DIY polytunnels, how to build one yourself, and essential tips for maintaining a thriving garden.
What is a Polytunnel?
A polytunnel is a tunnel-like structure made of polyethylene (plastic) that covers a metal or PVC frame. It functions similarly to a greenhouse, creating a controlled environment for plants to thrive. By shielding crops from extreme weather conditions and pests, polytunnels enable gardeners to extend their growing season and increase their yield. Moreover, they are more affordable and easier to construct than traditional glass greenhouses.
Benefits of DIY Polytunnels
- Extended Growing Season: Polytunnels provide protection from frost and cold temperatures, allowing you to start planting earlier in the spring and continue harvesting later into the fall.
- Increased Yield: The controlled environment inside a polytunnel promotes healthier plant growth and higher yields.
- Pest and Disease Control: The plastic covering acts as a barrier against pests and diseases, reducing the need for chemical pesticides.
- Cost-Effective: Building your own polytunnel is more affordable than purchasing a pre-made greenhouse, and maintenance costs are relatively low.
- Versatility: Polytunnels can be used for various purposes, including growing vegetables, fruits, flowers, and even as a covered space for livestock or storage.
Building Your Own DIY Polytunnel
Materials Needed:
- Polyethylene sheeting (UV-stabilized)
- Metal or PVC pipes for the frame
- Ground anchors or stakes
- Rope or wire
- Door frame kit
- Clamps or clips
- Basic tools (measuring tape, saw, drill, etc.)
Step-by-Step Guide:
- Choose a Location: Select a flat, sunny spot in your garden with good drainage. Ensure the area is free from obstructions and receives ample sunlight throughout the day.
- Measure and Mark: Determine the size of your polytunnel and mark the dimensions on the ground using stakes and string. Common sizes range from 10 to 30 feet in length, with a width of 6 to 12 feet.
- Install Ground Anchors: Secure ground anchors or stakes at each corner and along the sides of the marked area. These anchors will hold the frame in place.
- Construct the Frame: Bend the metal or PVC pipes into arches and attach them to the ground anchors. Space the arches evenly along the length of the polytunnel, typically every 4 to 6 feet. Connect the arches with horizontal pipes or cross braces to provide stability.
- Attach the Polyethylene Sheeting: Drape the polyethylene sheeting over the frame, ensuring it covers the entire structure. Leave some extra material at the ends to create doors and ventilation openings. Use clamps or clips to secure the sheeting to the frame.
- Build the Doors: Construct a door frame at each end of the polytunnel using the door frame kit. Attach the polyethylene sheeting to the door frames, creating a seal to keep out pests and retain warmth.
- Secure the Sheeting: Tightly fasten the polyethylene sheeting to the ground using rope or wire. Bury the edges of the sheeting in the soil to prevent it from being lifted by the wind.
Maintaining Your Polytunnel
To ensure your polytunnel remains in good condition and provides the best environment for your plants, follow these maintenance tips:
- Regular Cleaning: Clean the polyethylene sheeting periodically to remove dirt, algae, and debris. This will allow maximum sunlight penetration and prevent the growth of mold and mildew.
- Check for Damage: Inspect the frame and sheeting regularly for signs of wear and tear. Repair any damage promptly to maintain the integrity of the structure.
- Ventilation: Proper ventilation is crucial to prevent overheating and humidity buildup inside the polytunnel. Open the doors and ventilation openings during the day, especially in warm weather.
- Watering: Ensure your plants receive adequate water, but avoid over-watering, which can lead to root rot. Consider installing a drip irrigation system for efficient and consistent watering.
- Crop Rotation: Practice crop rotation to prevent soil depletion and reduce the risk of pests and diseases. Plant different crops in different areas of the polytunnel each season.
Conclusion
Building your own DIY polytunnel is a rewarding and cost-effective way to enhance your gardening experience. By extending the growing season, increasing yields, and protecting your plants from pests and harsh weather, a polytunnel can transform your garden into a thriving oasis. With some basic materials, tools, and a bit of effort, you can construct a polytunnel that suits your needs and enjoy bountiful harvests year-round. For more gardening tips and supplies, visit South El Monte Hydroponics.


